By the FaultToFix team | Published: 26 October 2026 | Last updated: 26 October 2026
DIY level: Easy · Cost: $0 to check, $5–$15 to fix · Time: 2 minutes to diagnose, ~10 minutes to fix
Quick Answer: Your toilet is leaking water from the tank into the bowl, usually past a worn flapper, so the fill valve tops the tank up every few minutes. Put a few drops of food colouring in the tank and wait 15 minutes — if colour shows in the bowl without flushing, the flapper is leaking. A replacement flapper costs about $5–$15 and takes 10 minutes to fit, no tools needed. If water is running constantly and never stops, skip to the fill-valve section below.
Key Takeaways
- Refills every few minutes, then stops = tank-to-bowl leak, usually the flapper. The dye test proves it in 15 minutes.
- Water running constantly and never stopping is a different fault — fill level too high or a fill valve that will not shut off. Check the waterline first.
- Chain slack decides whether the fix holds: about ½ inch (1 cm) of slack. Too tight or too loose and the new flapper still leaks.
- Wipe the flush-valve seat before fitting the new flapper — grit or limescale there causes half of all “new flapper still leaks” cases.
- A seized shut-off valve is a stop condition, not a challenge — forcing it can turn a $10 fix into a flood.
Jump to a Section
Confirm the diagnosis · Symptom → cause table · What you need · The fix, step by step · If that didn’t fix it · Common mistakes · When to stop and call a pro · Cost table · US / UK term box · FAQs · Checklist
Safety box
No mains work is involved. Turn the toilet’s own supply valve (the oval handle on the wall or floor behind the toilet) clockwise to shut the water off before removing any parts. If that valve is seized or leaks when you touch it, stop and call a plumber — old shut-off valves are the one part of this job that can turn a $10 fix into a flood.
First, confirm the diagnosis (the 2-minute checks)
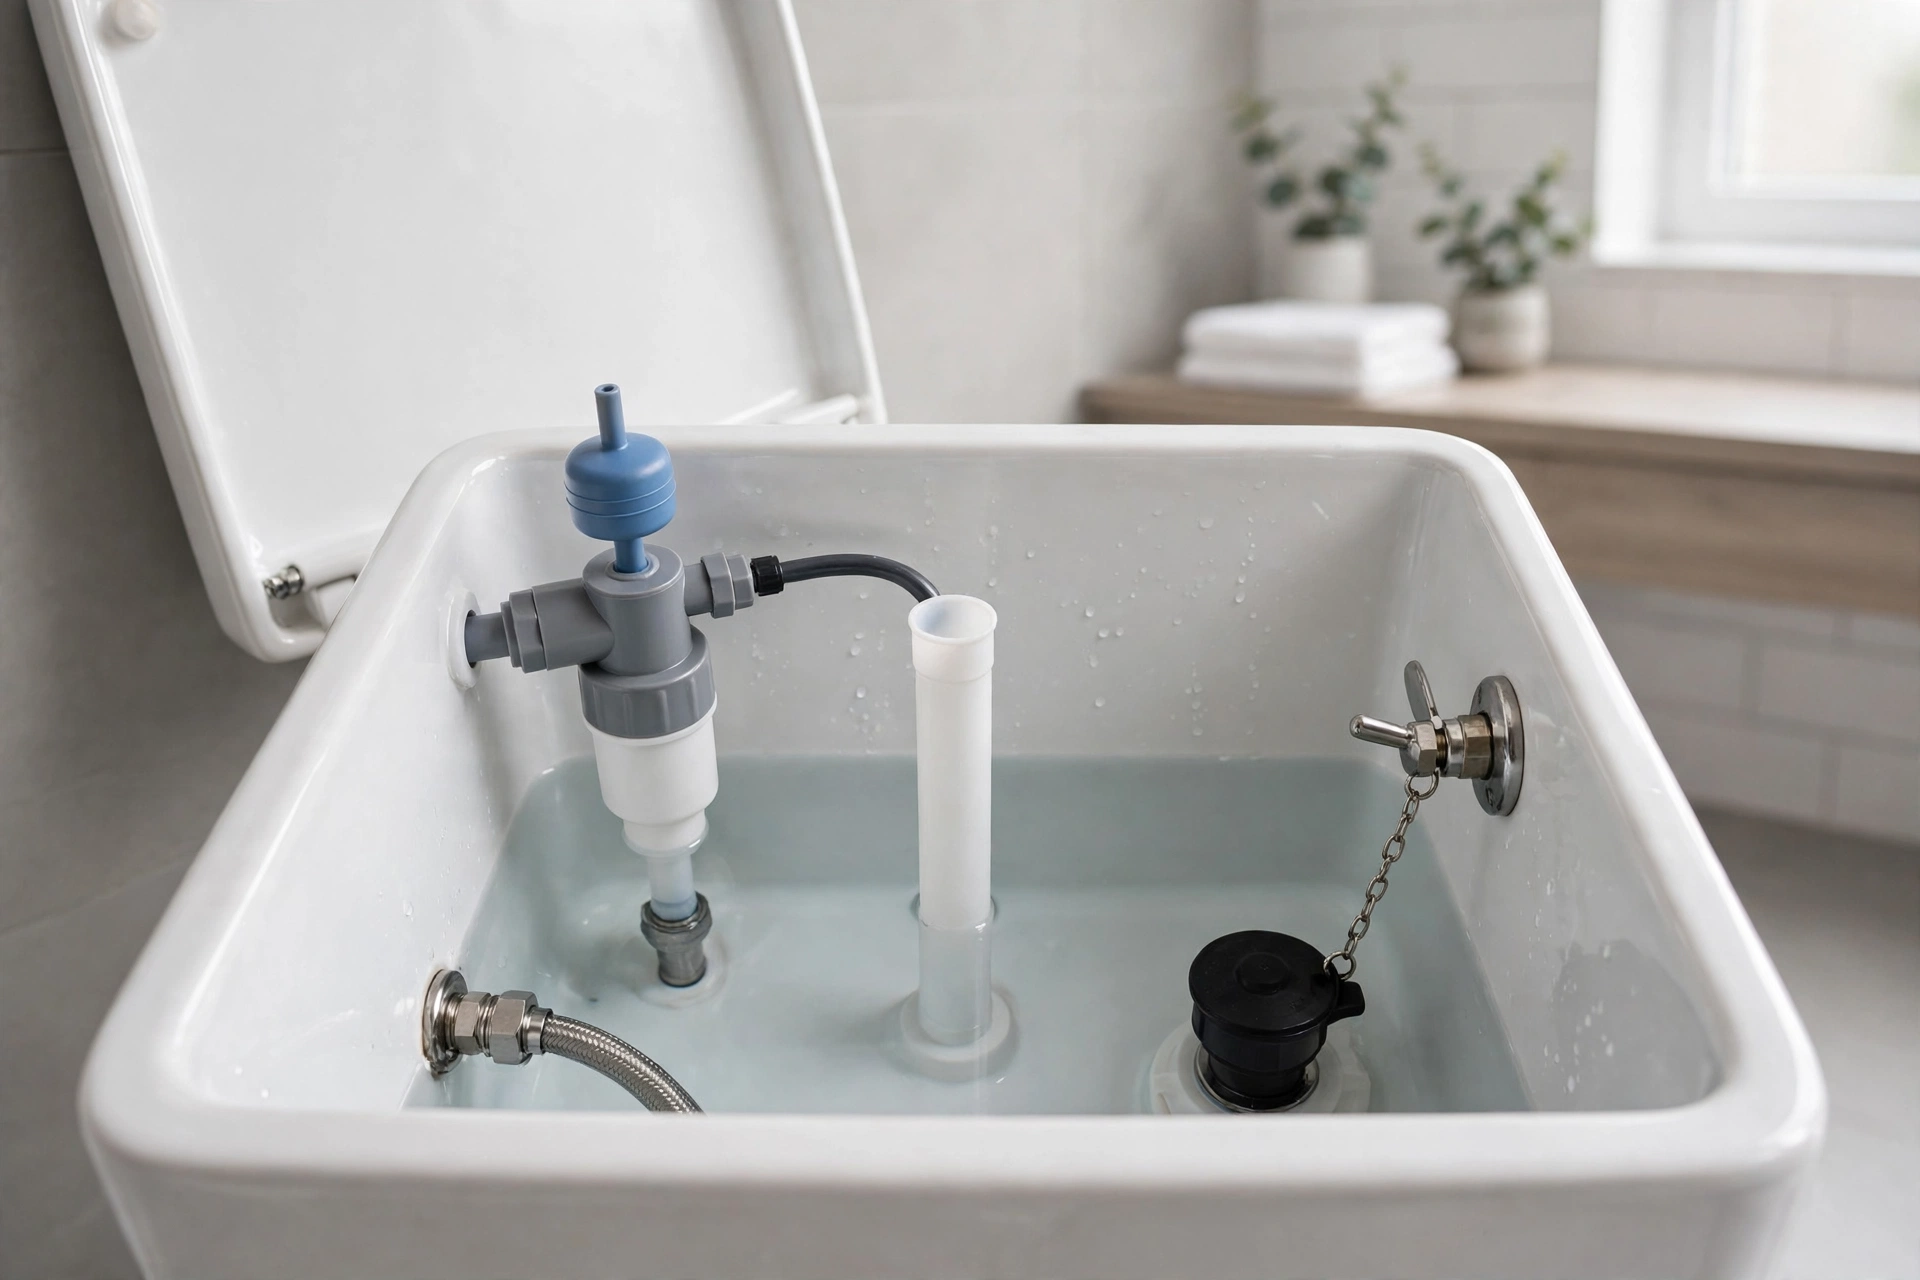
Check 1 — the waterline check (30 seconds). Lift the tank lid and look at the overflow tube — the open pipe standing in the middle of the tank. The water level should sit about 1 inch (2–3 cm) below the top of that tube, usually at a marked waterline on the tank wall. If water is at the very top of the tube or trickling into it, your problem is the fill level, not the flapper — go to “If that didn’t fix it” below.
Check 2 — the dye test (2 minutes of work, 15 minutes of waiting). This is the test that decides everything:
- Remove the tank lid and set it somewhere safe — porcelain lids crack if dropped.
- Add 5–10 drops of food colouring (or a spoon of instant coffee) to the tank water.
- Do not flush. Wait 15 minutes — 30 if the leak is slow.
- Look in the bowl. Coloured water in the bowl = the flapper (or flush seal) is leaking. Clear bowl water = the leak is somewhere else; see the symptom table.

Symptom → cause table
| What you notice | Most likely cause | First check |
|---|---|---|
| Toilet refills by itself every few minutes, then stops | Worn or misaligned flapper leaking tank → bowl | Dye test |
| Water runs constantly and never shuts off | Fill level too high (water escaping down the overflow tube) or a failed fill valve | Waterline check |
| Dye test positive but flapper looks fine | Mineral crust or a nick on the flush-valve seat under the flapper | Wipe the seat rim with a cloth and retest |
| Toilet flushes twice or the handle must be held down | Chain too long / flapper closing too early (opposite problem) | Chain slack check (below) |
| Hissing sound from the tank between refills | Fill valve slowly leaking or debris in the valve cap | Waterline check, then fill-valve section |
| Refills only at night / random long gaps | Very slow flapper leak — same fault, earlier stage | Dye test with a full 30-minute wait |
You need
- Replacement flapper — match your flush size: most toilets use a 2-inch flapper; newer high-efficiency models often use 3-inch. Measure the flush-valve opening or take the old flapper to the store. Universal-fit flappers ($5–$15) cover most cases; brand-matched (Kohler, Toto, American Standard) seal best on their own toilets.
- Food colouring — any dark colour, for the dye test.
- Sponge and a small bucket or old towel — for the last of the tank water.
- Rubber gloves (optional) — tank water is clean supply water, but the old flapper can be slimy.
The fix, step by step
- Shut the water off at the toilet’s supply valve (clockwise).
- Flush and hold the handle down to empty the tank as far as it will go. Sponge out what remains into the bowl.
- Unhook the old flapper. It clips onto two pegs on the flush-valve tube — no tools. Note which pegs and which hole the chain uses; a phone photo now saves guessing later.
- Wipe the seat. Run a cloth around the rim the flapper sits on. Grit or limescale here causes half of all “new flapper still leaks” cases.
- Clip the new flapper on the same pegs.
- Set the chain slack — this detail decides whether the fix works. Reconnect the chain to the flush lever with about ½ inch (1 cm) of slack — roughly two spare links lying loose. Too tight and the flapper can never seal (leak continues); too loose and the chain can slip under the flapper (leak continues, plus weak flushes).
- Turn the water back on and let the tank fill. Check the level stops ~1 inch below the overflow tube top.
- Test it worked: repeat the dye test. Clear bowl after 15 minutes = sealed. Then listen for an hour — no refill sounds means the phantom flush is gone.
If that didn’t fix it
If the dye test now passes but the toilet still refills, or the waterline check showed water at the overflow tube, the fault is the fill valve: either its float is set too high (on most modern valves, squeeze the clip on the float and slide it down 1 inch, or turn the adjustment screw counter-clockwise — one change, then retest), or the valve itself is worn and hisses without shutting off. A universal fill valve is $10–$20 and swaps in about 20 minutes with the water off — but if your supply valve is old or the supply line is a rigid pipe rather than a flexible hose, that job is worth handing to a plumber.
Common mistakes
- Skipping the dye test and buying a flapper first. A constant run is a fill-valve fault, not a flapper fault — the test, not a guess, names the part.
- Fitting the new flapper without wiping the seat. A clean-looking seat can still carry grit or limescale that defeats the new seal.
- Chain too tight or too loose. Both fail the same way — the flapper never seals — which is why the ½-inch slack is set deliberately, not by eye.
- Forcing a seized supply valve. If it will not turn, or weeps when touched, stop: that is the one step in this job that can flood a room.
- Leaving drop-in bleach tablets in the tank. Chlorinated water and in-tank tablets shorten flapper life a lot — remove them when you fit the new one.
- Treating “turn the supply off between uses” as a fix. It stops the waste tonight, but a rarely used valve can seize or drip when exercised daily — it is a bridge to the flapper swap, not a permanent fix.
When to stop and call a pro
- The shut-off valve behind the toilet is seized, or weeps when turned.
- Water is leaking onto the floor (that is a supply-line or tank-bolt leak, a different fault — and one that damages floors fast).
- The tank or bowl is cracked.
- You’ve replaced the flapper and set the fill level and it still runs — the flush valve seat itself may be damaged, which means removing the tank.
- You’re a renter and the water bill is in your name — do the dye test, then send the result to your landlord; in most places a running toilet is the landlord’s repair, and the dye-test photo is your evidence.
Cost table
| Item | Cost | Time |
|---|---|---|
| Dye test + waterline check | $0 / £0 | 2 minutes’ work, 15 minutes’ wait |
| Replacement flapper (US) | $5–$15 | ~10 minutes to fit |
| UK drop-valve washer seal | £3–£10 | ~10 minutes to fit |
| Universal fill valve (if the flapper was not the fault) | $10–$20 | ~20 minutes |
| Plumber’s call-out for this fault (US, for comparison) | $150–$300 | — |
US / UK term box
Reading from the other side of the Atlantic? Tank = cistern · Flapper = flush valve seal / drop-valve washer (most modern UK cisterns use a drop valve with a silicone sealing washer rather than a flapper — the dye test works exactly the same, and the washer is the part to replace) · Fill valve = ball valve / float valve · Supply valve = isolation valve / stopcock. UK washer seals typically cost £3–£10.
FAQs
How much water does a phantom flush waste?
A flapper leaking enough to refill every few minutes can waste 100–200 gallons (roughly 400–750 litres) a day — it is one of the largest silent water uses in a home, and it is the usual explanation when a water bill jumps with no visible leak.
Why does my toilet flush by itself at night?
It isn’t flushing — the tank level drops slowly through the leaking flapper until the fill valve briefly tops it up, which is the refill sound you hear. It’s more noticeable at night because the house is quiet and water pressure rises when less is being used.
Can I just turn the supply valve off between uses?
As a stopgap, yes — it stops the waste tonight. But valves that are rarely used can seize or start to drip when exercised daily, so treat it as a bridge to fitting the new flapper, not a permanent fix.
How long should a flapper last?
Typically 3–5 years. Chlorinated water and in-tank bleach tablets shorten that a lot — if you use drop-in tank tablets, expect the flapper to perish early, and consider removing the tablets when you fit the new one.
The dye test was clear but the toilet still refills. What now?
Work through the fill-valve checks in “If that didn’t fix it” — a clear dye test rules out the tank-to-bowl leak, so the remaining causes are a high fill level or a fill valve that isn’t shutting off cleanly.
Checklist
- Waterline check: level ~1 inch below the overflow tube top
- Dye test: 15 minutes (30 for a slow leak), bowl checked without flushing
- Supply valve off before removing any part — and it turns freely
- Old flapper unhooked, pegs and chain hole noted
- Flush-valve seat wiped clean
- New flapper clipped on the same pegs
- Chain slack set to ~½ inch (1 cm)
- Water back on, fill level stops ~1 inch below the overflow tube
- Repeat dye test clear, then one hour with no refill sound