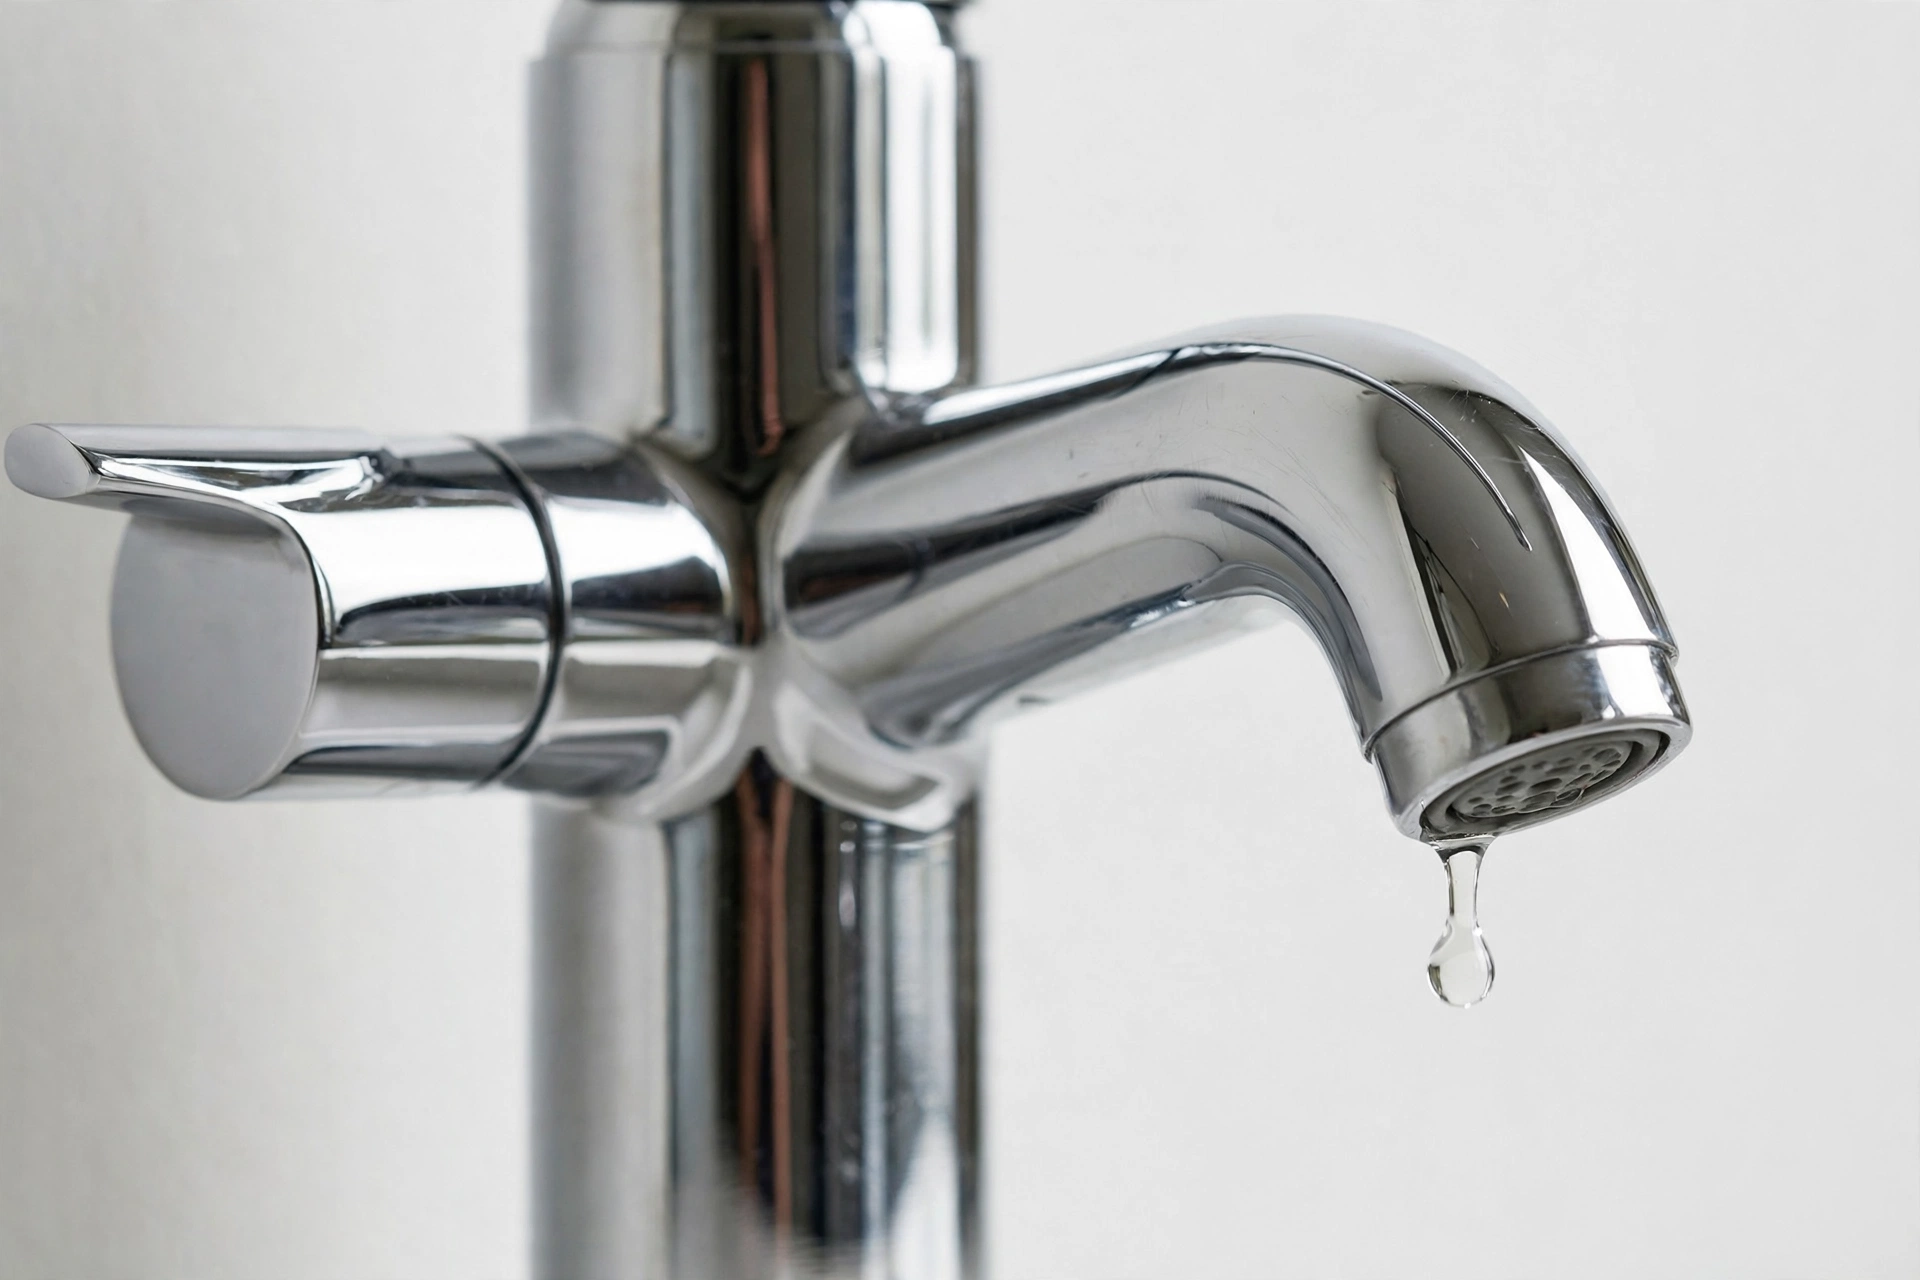
By the FaultToFix team | Published: 27 October 2026 | Last updated: 27 October 2026
DIY level: Easy · Cost: £0 to test, £5–£25 for a cartridge · Time: 10 seconds to test, 20–40 minutes to fix
Quick Answer: If your tap still drips after you changed the washer, there is a good chance your tap never had a washer to change. Most modern UK taps are quarter-turn ceramic-disc taps: instead of a rubber washer pressing on a seat, two ceramic discs slide against each other to shut the water off. When those discs wear, chip, or scale up, the tap drips — and no washer swap will ever fix it, because there is no washer inside. The 10-second test below tells you which kind of tap you have, and from there the fix is usually one cartridge swap, measured before you order it.
Key Takeaways
- Most modern UK taps have no washer. A quarter-turn handle means a ceramic-disc cartridge, not a washer tap.
- The 10-second tap-type test decides everything: a handle that stops after a quarter or half turn is ceramic-disc; a handle that keeps winding is a traditional washer tap.
- Measure the cartridge before ordering — spline count and length, not “looks about right”. The wrong cartridge is the most common second wasted purchase.
- A borderline cartridge in a hard-water area is worth one vinegar soak before you spend on a replacement.
- A drip that only follows use, then stops, is usually water draining from the spout — normal, and no part will fix it.
Jump to a Section
- Confirm the diagnosis · Symptom → cause table · What you need · The fix, step by step · If that didn’t fix it · When to replace the tap instead · Common mistakes · When to stop and call a plumber · Cost table · US / UK term box · FAQs · Checklist
Safety box
Everything in this guide happens with the water isolated at the isolation valves under the sink (or the main stopcock if there are none), and the tap opened to release pressure before any part comes out. You never cut, solder, or re-pipe anything, and you never force a seized valve or a corroded fitting. If an isolation valve is seized, weeping, or missing, stop and use the main stopcock — or call a plumber. If water is leaking from the supply pipes, the wall, or under the sink rather than dripping from the spout, this is the wrong guide.
First, confirm the diagnosis (two free checks)
Check 1 — the drip pattern (2 minutes). Dry the spout and put a dry cup or tissue under it. A drip that falls steadily, hour after hour, with the tap fully off, is a sealing fault — worn discs, damaged seals, or a cracked cartridge. A drip that runs for a few minutes after you use the tap and then stops is usually just water draining out of the spout and aerator — normal, and no part will fix it. Only chase a steady drip.
Check 2 — the tap-type test (10 seconds). Turn the handle fully on and count the rotation. A handle that turns a quarter or half turn and stops is a ceramic-disc tap: there is no washer inside, so skip the washer advice entirely and go to the cartridge section below. A handle that keeps winding through several full turns is a traditional washer tap: it does have a washer, and its drip is covered by the companion guide on valve seats. This one observation explains a great many “changed the washer, still dripping” mysteries — on a cartridge tap, the washer you changed was never the sealing part, and on some quarter-turn taps there was not even a washer seat to fit one to.
Check 3 — one tap or both? A drip from one tap only is a fault in that tap. Drips or pressure problems at several taps at once point to a supply or pressure problem, not to a cartridge — see “When to stop and call a plumber”.
Symptom → cause table
| What you notice | Most likely cause | First check |
|---|---|---|
| Steady drip from the spout, tap fully off, after a “washer change” | Ceramic-disc cartridge — the tap never had a washer; worn or chipped discs | Tap-type test above, then cartridge section |
| Steady drip, handle stops after a quarter turn | Worn ceramic discs or perished cartridge seals/O-rings | Remove the cartridge and inspect the discs and seals |
| Tap stiff, gritty, or hard to turn, plus a drip | Limescale on the discs or cartridge — common in hard-water areas | Vinegar soak test below before ordering |
| Drip only for a few minutes after use, then stops | Residual water in the spout — normal, not a fault | Cup test: steady drip vs draining drip |
| Drip from the handle or the base, not the spout | Cartridge O-rings or gland seals — a different seal from the discs | Dry tissue around the handle while the tap runs |
| Drip returns within days of a cartridge swap | Wrong cartridge fitted — wrong spline count or length, so it never seated | Compare the new cartridge with the old one, side by side |
| Handle turns freely with no resistance and the tap will not shut off | Broken cartridge stem or stripped spline | Cartridge out and inspected — a replacement, not a washer job |
You need
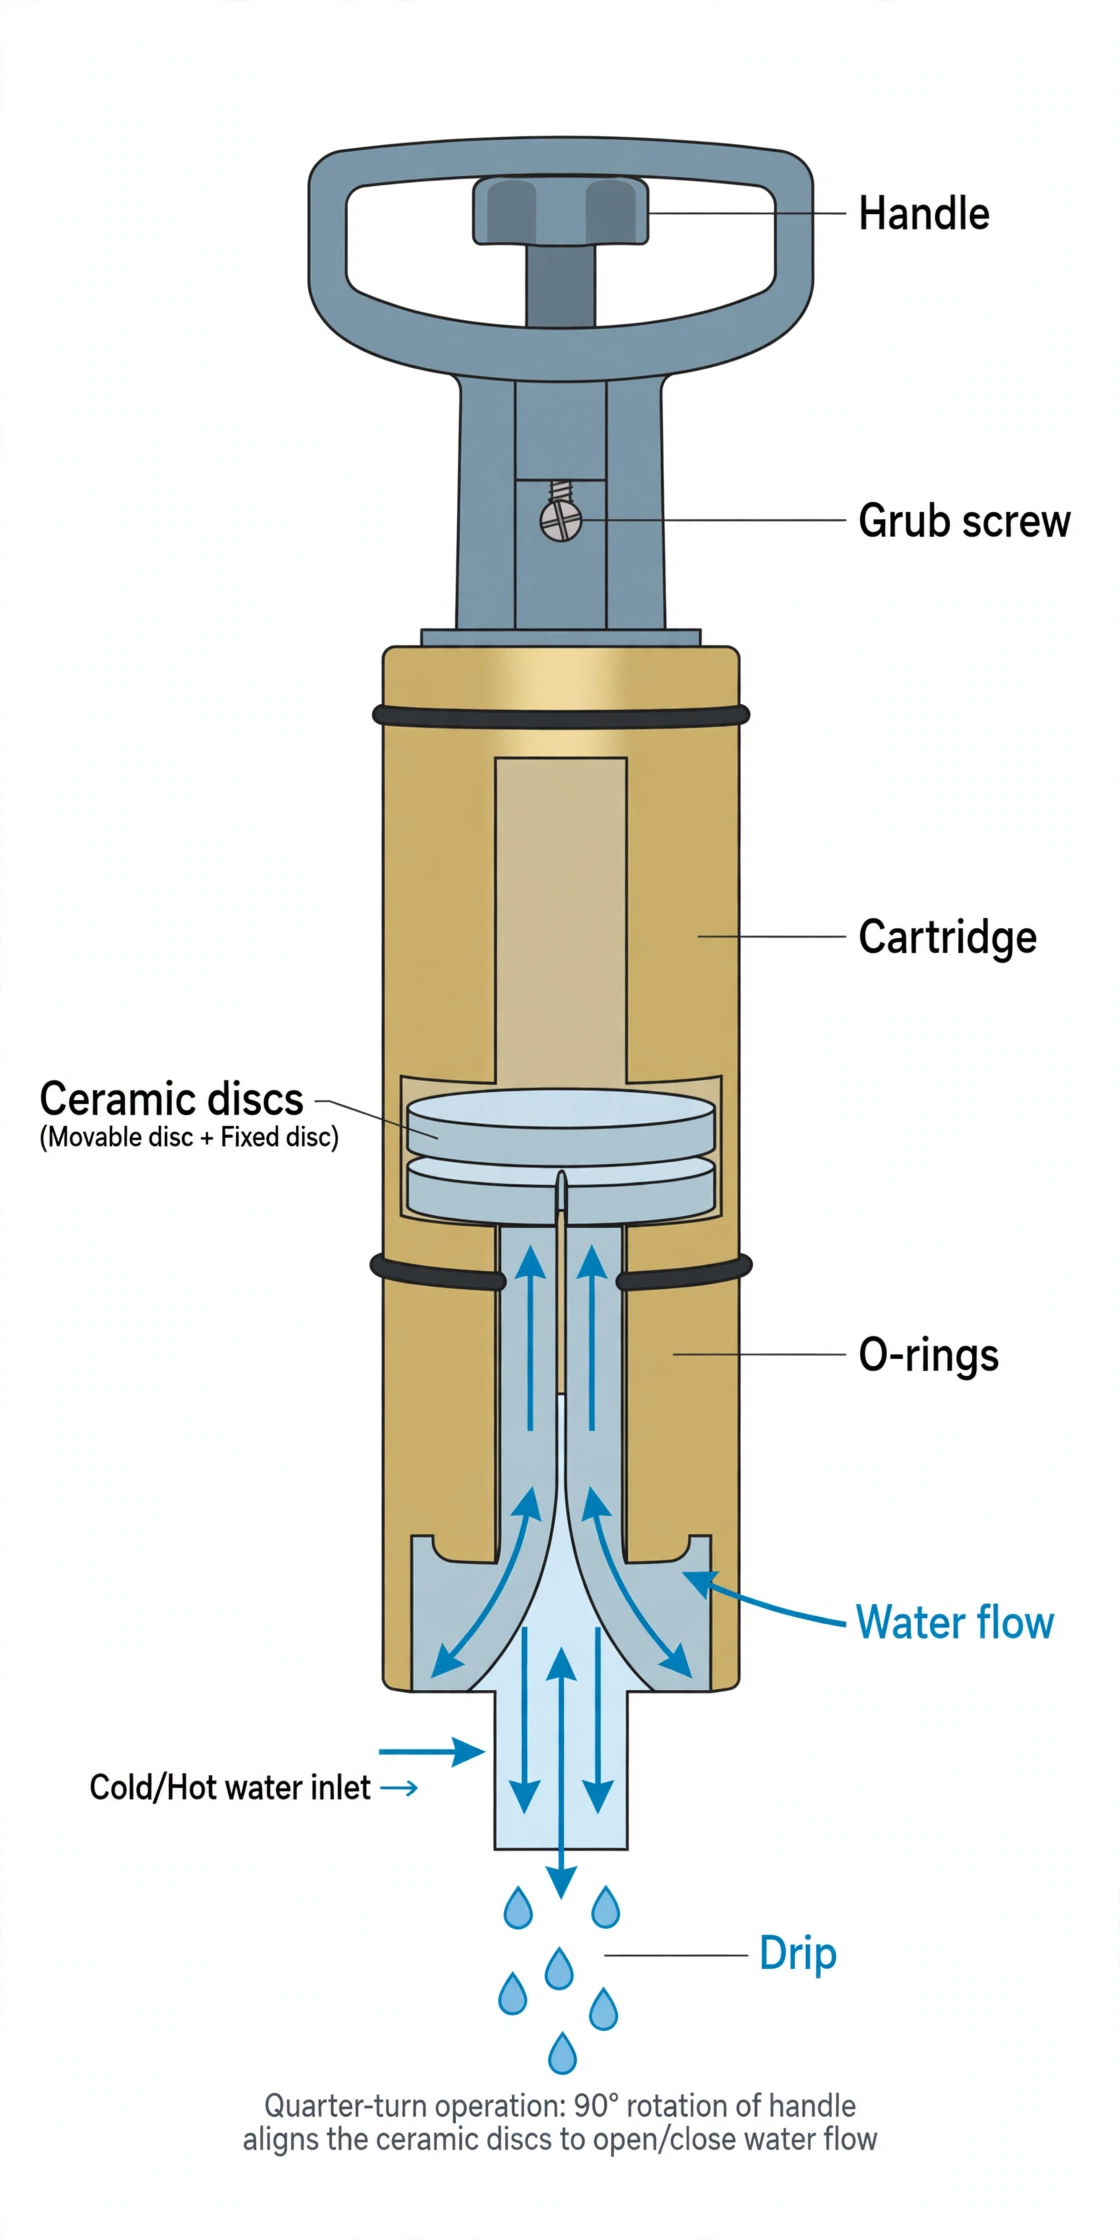
- Replacement ceramic-disc cartridge, identified by brand, model, spline count, and length — photograph the old cartridge and its markings before ordering, and measure it (see the fix steps). Cartridges are sold as hot and cold pairs or singly; the two sides are usually mirror images, so note which side yours came from.
- Allen keys for the handle grub screw (usually hidden under the handle or under a hot/cold cap), plus an adjustable spanner for the retaining nut.
- A cloth to protect the chrome finish, silicone plumber’s grease for O-rings and threads (never petroleum grease on rubber parts), and a towel for the small amount of water left in the tap.
- Optional: white vinegar for a limescale soak on a borderline cartridge (see below), and a small container to soak it in.
The fix, step by step — ceramic-disc tap
- Isolate the water. Turn off the isolation valves under the sink (hot and cold). If there are no isolation valves, turn off the main stopcock. Open the tap to release pressure, and plug the basin or sink so no small screw disappears down the waste.
- Remove the handle. The grub screw is usually under the handle, under a decorative cap, or under the red/blue hot/cold indicator. Loosen it with the right Allen key and lift the handle off. Keep the screw somewhere safe — it is small and easy to lose.
- Remove the retaining nut and pull the cartridge straight out. Note its orientation before you move it — most cartridges only fit one way, and fitting one backwards causes a new set of problems (hot and cold reversed, or a tap that will not shut off).
- Inspect the cartridge. Look at the two ceramic discs at the base: chips, cracks, or deep scoring mean replacement. Check the O-rings and seals for tears or flattening. Heavy white limescale crust on an otherwise sound cartridge is worth one soak (step 5); a chipped disc is not — no soak repairs ceramic.
- The limescale soak (optional, once only). If the discs are intact but crusted, soak the cartridge in white vinegar for an hour, rinse it clean, and refit it. In hard-water areas this rescues a surprising number of “worn” cartridges. If the drip returns within days, the discs were worn, not just scaled — replace the cartridge.
- Measure before ordering. Count the splines on the cartridge stem, measure the overall length, and note the brand and model from the cartridge or the tap. Order by those numbers, not by appearance. Two cartridges can look identical and differ in spline count or length — that difference is exactly how the wrong cartridge gets bought twice. When the new cartridge arrives, compare it with the old one side by side before fitting it.
- Fit the new cartridge in the same orientation, grease the O-rings lightly with silicone grease, refit the retaining nut and handle, and tighten the grub screw.
- Turn the water back on slowly, check for leaks at the handle and base as well as the spout, then leave the tap off for 15 minutes with a dry tissue under the spout. Dry tissue = fixed. Test hot and cold separately: a cartridge fitted backwards shows up here, not later.
If that didn’t fix it
- Re-check the cartridge match. The most common miss is a cartridge that looks right but differs by one spline or a few millimetres in length. Compare old and new side by side, not from memory.
- Re-check the seals. A drip from the handle, or a drip that appears only while the tap is running, is a cartridge O-ring or gland seal, not the discs — replace the seals or the cartridge as a unit.
- Check the tap body. A cracked or corroded tap body, or a seat area damaged beyond the cartridge’s seals, will not be fixed by any cartridge — see “When to replace the tap instead”.
- Clean the aerator. A clogged aerator does not cause a drip, but it can make a small drip look bigger and noisier. Clean it while you are there.
When to replace the tap instead
Repair stops being good economics when the tap body is cracked or corroded, the cartridge is discontinued and no match exists, the tap has been re-cartridged more than once and still will not seal, or the finish and internals are both worn out. A decent replacement tap costs roughly what two or three rounds of wrong cartridges cost — and it ends the drip for good. Swapping the tap itself is a straightforward job on standard connections, but if the supply pipes, isolation valves, or connections are corroded, that is a plumber’s job, not a first DIY swap.
Common mistakes
- Changing a washer on a tap that has none. The quarter-turn test takes 10 seconds and prevents the whole wasted job.
- Buying a cartridge by appearance. Spline count and length are the order details that matter; appearance is not one of them.
- Fitting a cartridge backwards. Note the orientation before removal, and test hot and cold after refitting.
- Skipping the soak-or-replace decision. A scaled cartridge gets one vinegar soak; a chipped one goes straight to replacement. Soaking a chipped disc wastes an hour and changes nothing.
- Petroleum grease on rubber parts. It degrades rubber O-rings and seals; silicone plumber’s grease is the right product.
- Forgetting the grub screw. A handle refitted without its grub screw tightened will work loose and, eventually, come off in someone’s hand.
When to stop and call a plumber
Stop and call a plumber if: an isolation valve is seized, weeping, or missing; the tap body is cracked; supply pipes or connections are corroded; water is leaking inside the wall or under the floor; or several taps drip or lose pressure at once (a supply or pressure problem). None of these are cartridge jobs, and forcing them turns a drip into a flood.
Cost table (UK, typical)
| Item | Typical cost |
|---|---|
| Diagnosis (drip pattern + tap-type test) | £0 |
| Replacement ceramic-disc cartridge | £5–£25 |
| Allen keys (if you do not own a set) | £3–£8 |
| Silicone plumber’s grease | £3–£6 |
| White vinegar (limescale soak) | £1–£2 |
| Replacement tap (when repair stops paying) | £30–£150+ |
US / UK term box
| US term | UK term used in this guide |
|---|---|
| Faucet | Tap |
| Wrench | Spanner |
| Shutoff valve | Isolation valve / stopcock |
| Sink basin | Basin (bathroom) / sink (kitchen) |
| Cartridge faucet | Ceramic-disc / quarter-turn tap |
FAQs
I changed the washer and the tap still drips. Did I fit the washer wrong?
Probably you fitted it to a tap that has no washer. Run the 10-second tap-type test: a handle that stops after a quarter turn means a ceramic-disc cartridge tap, and the fix is a cartridge swap, not a washer. The washer you fitted may not even be sealing against anything.
How do I know which cartridge to buy?
Take the old cartridge out first, photograph it and its markings, count the splines, and measure its length. Order by brand, model, spline count, and length — in that order. Ordering by tap brand alone, or by appearance, is how the wrong cartridge arrives.
Can I just soak the cartridge in vinegar instead of replacing it?
Once, if the discs are intact and only scaled — an hour in white vinegar, rinsed and refitted. If the discs are chipped, cracked, or scored, or the drip returns within days of the soak, the cartridge is worn and needs replacing.
My tap is stiff as well as dripping. Is that the same fault?
Usually, yes — limescale on the cartridge makes it stiff and stops the discs sealing fully. Try the soak first; if stiffness and drip both persist, replace the cartridge. If the tap body itself is corroded, the tap, not the cartridge, is the problem.
Hot and cold are reversed after I fitted the new cartridge. What went wrong?
The cartridge went in backwards. Isolate the water, take it out, turn it to the correct orientation (check the old cartridge’s position in your pre-removal photo), and refit it. Test hot and cold before you call the job done.
Checklist
- [ ] Drip pattern checked — steady drip, not just draining water
- [ ] Tap-type test done — quarter-turn handle = ceramic-disc cartridge
- [ ] Water isolated, pressure released, waste plugged
- [ ] Handle and cartridge removed, orientation noted
- [ ] Cartridge inspected — chipped discs mean replacement, scaled discs get one vinegar soak
- [ ] New cartridge measured and matched (splines + length) before fitting
- [ ] Cartridge fitted in the correct orientation, O-rings greased with silicone grease
- [ ] Water back on slowly, leaks checked at handle, base, and spout
- [ ] 15-minute tissue test passed, hot and cold both correct